Knowledge Base Help Center
Installing PowerSync on WebSphere
Creating the Web Application Server
- In the left column of the WebSphere console, select Servers -> Server Types -> WebSphere application servers
- Click the “New…” button
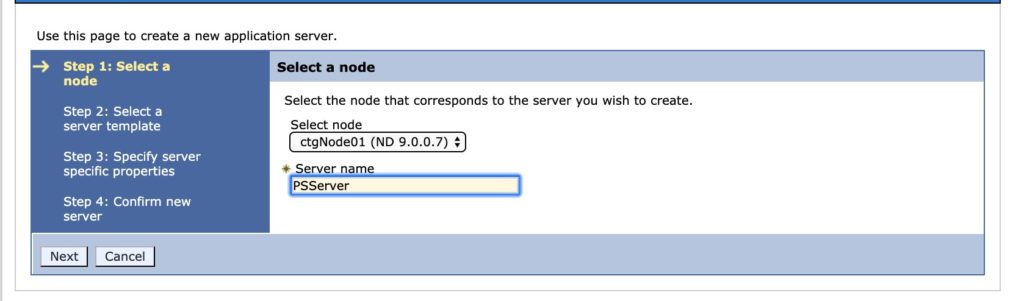
- Step 1: Select a node and name your server (e.g. PSServer). Click the “Next” button
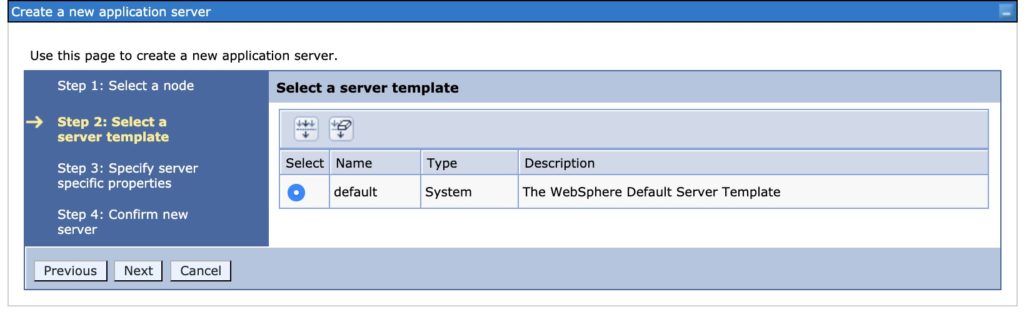
- Step 2: Select the default template. Click the “Next” button
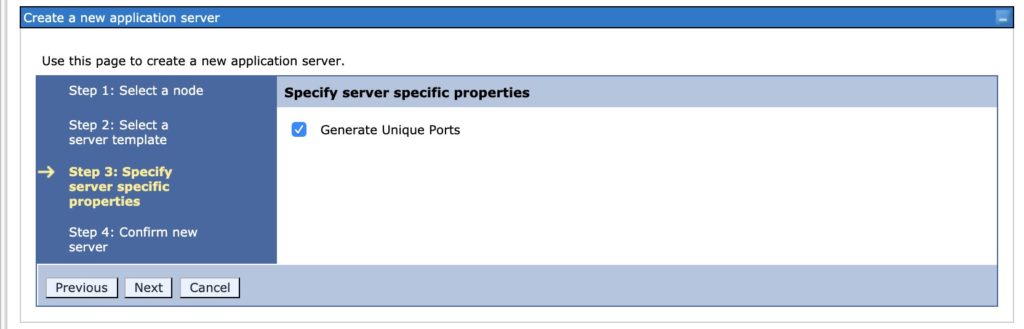
- Step 3: Check the “Generate Unique Ports” box. Click the “Next” button
- Step 4: Confirm and click the “Finish” button

- At the top of the application servers page, select “Save directly to the master configuration”
Increasing Server Memory (optional, recommended)
- In the left column of the WebSphere console, select Servers -> Server Types -> WebSphere application servers
- Select the web application server you just created (e.g. PSServer)
- Under Server Infrastructure, expand Java and Process Management, then select Process definition
- Under Additional Properties on the right side, select Java Virtual Machine
- Enter 2048 MB for Initial heap size, and 4096 MB for Maximum heap size

- Click “OK” at the bottom of the page
- At the top of the Process definition page, select “Save directly to the master configuration”
Creating the Virtual Host
- In the left column of the WebSphere console, select Servers -> Server Types -> WebSphere application servers
- Select the web application server you just created (e.g. PSServer)
- Under Communications, select Ports and make note of the port for “WC_defaulthost” (e.g. 9081), and “WC_defaulthost_secure” (e.g. 9444)
- In the left column of the WebSphere console, select Environment -> Virutal hosts
- Click the “New…” button.
- Name your virtual host (e.g. powersync_host). Click the “OK” button.
- At the top of the virtual hosts page, select “Save directly to the master configuration”
- In the virtual hosts page, select your new virtual host
- Under Additional Properties, select Host Aliases
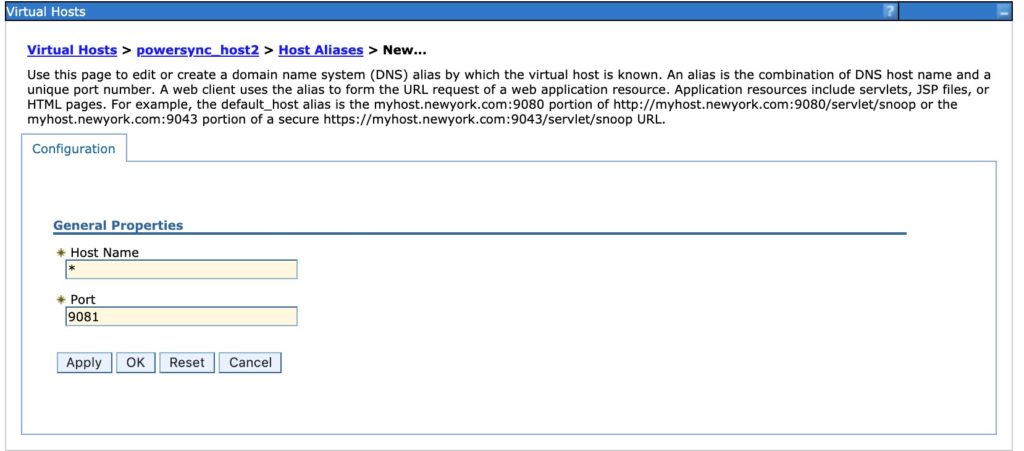
- Click the “New…” button
- Name your host “*” (w/o quotes) and put the port number you found for “WC_defaulthost” in step 3 (e.g. 9081). Select the “OK” button.
- Repeat step 11, but use the port found for “WC_defaulthost_secure” (e.g. 9444). This will be the port used for https access.
- At the top of the virtual hosts page, select “Save directly to the master configuration”
Creating the WebSphere Application
- In the left column of the WebSphere console, select Applications -> Application Types -> WebSphere enterprise applications
- Click the “Install” button.
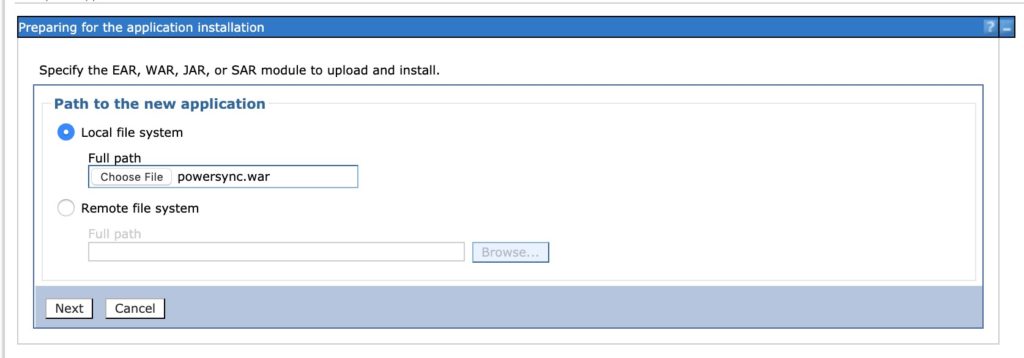
- Select the “Local file system” option and choose the WAR file you built earlier. Click the “Next” button.
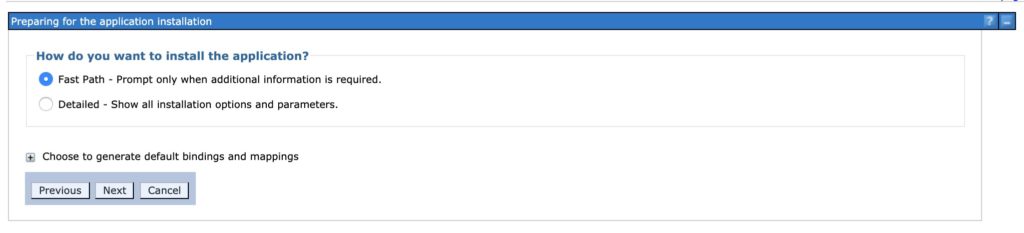
- Select the Fast Path option. Click the “Next” button.
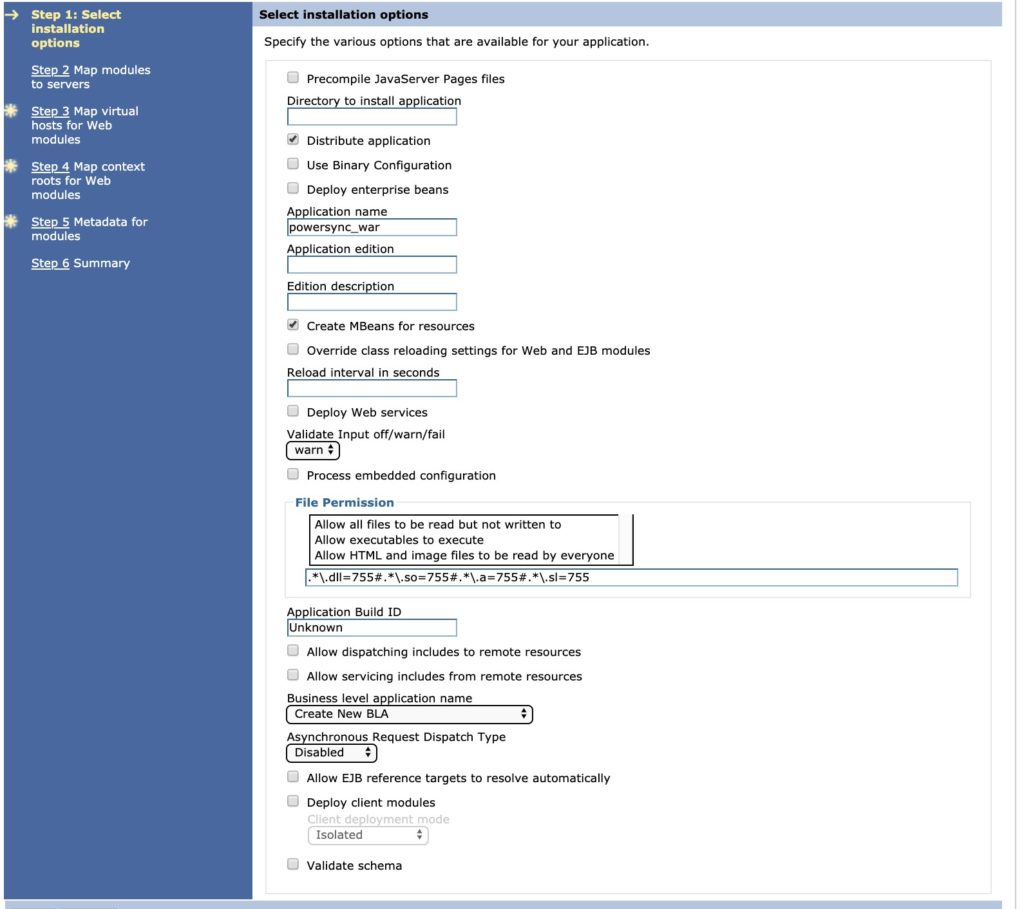
- Step 1: Keep the default settings. Click the “Next” button.
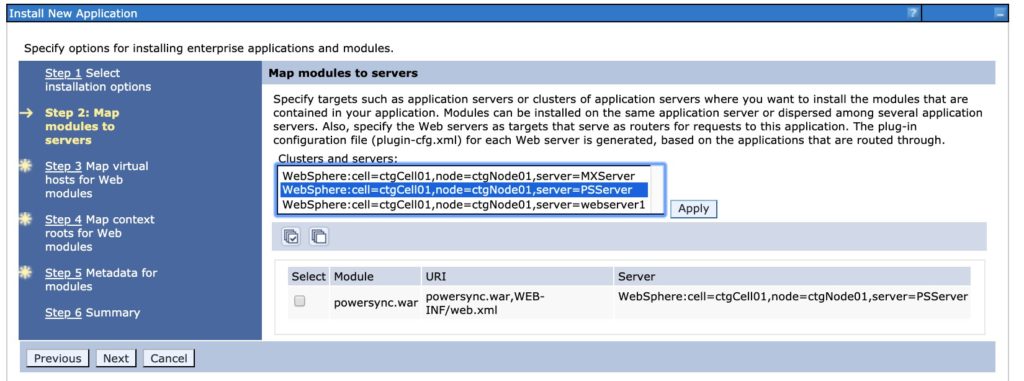
- Step 2: Select the powersync.war module, then under the Clusters and Servers list select the server you created earlier (e.g. PSServer). Click the “Apply” button. Click the “Next” button.
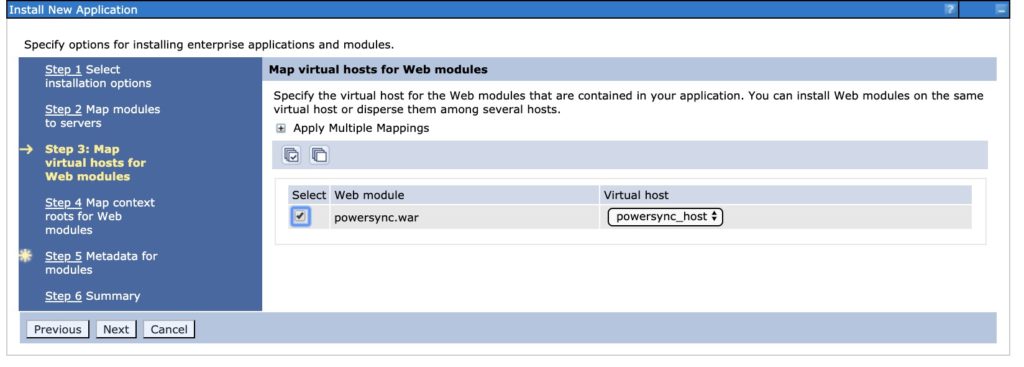
- Step 3: Select the powersync.war module, then under the Virtual host list select the host you created earlier (e.g. powersync_host). Click the “Next” button.
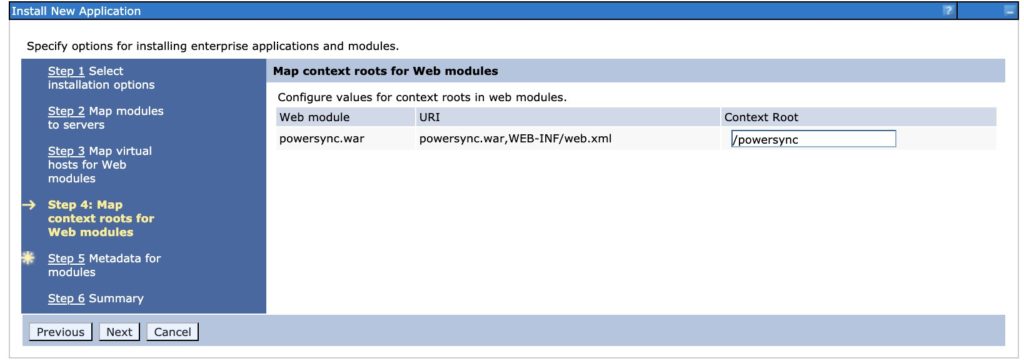
- Step 4: Under Context Root, type “/powersync” (w/o quotes) Click the “Next” button.
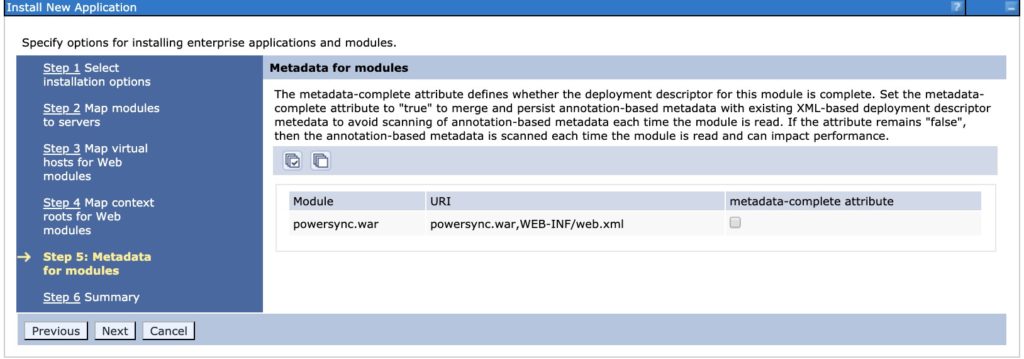
- Step 5: Leave the default settings, click the “Next” button.
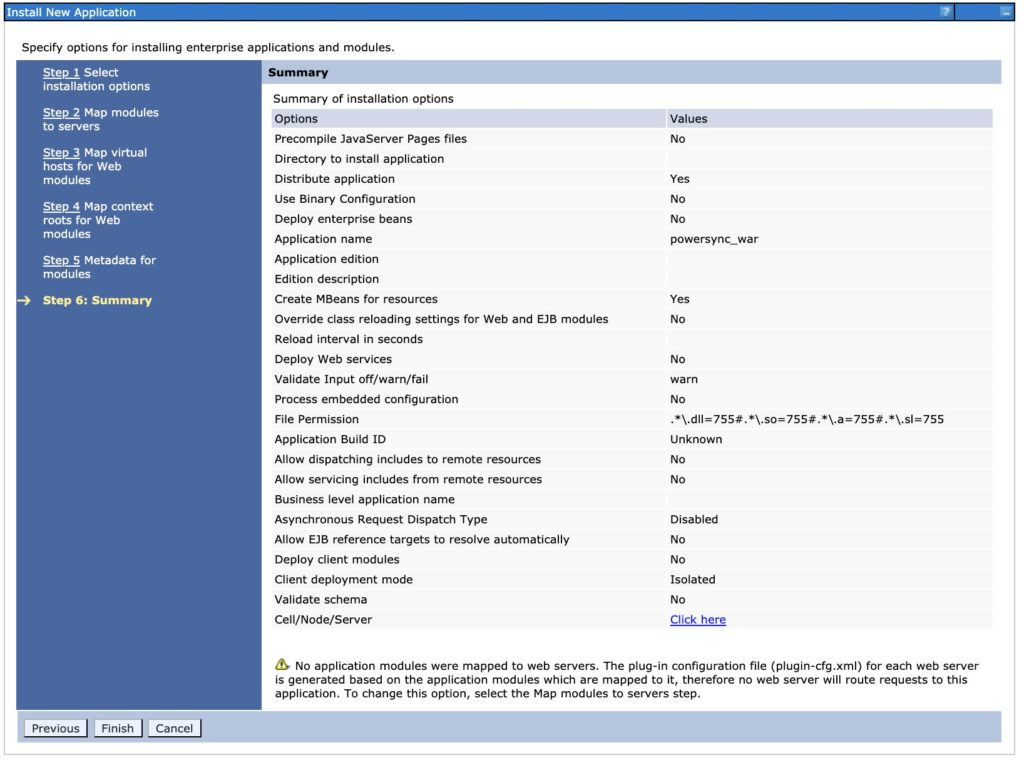
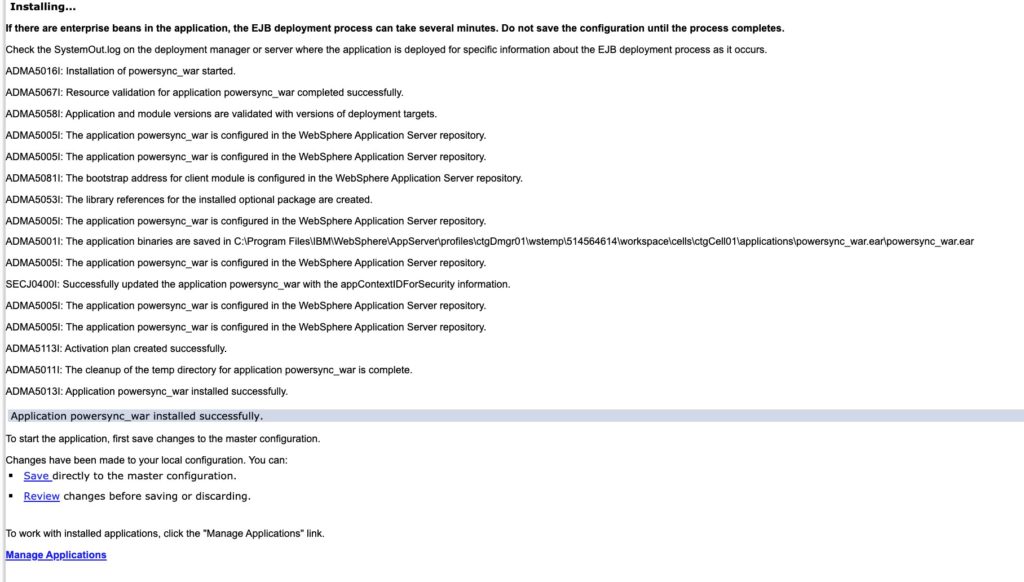
- Step 6: Confirm and click the “Finish” button
- Be patient as the install finishes. Click the “Save directly to the master configuration” button.
- In the left column of the WebSphere console, select Servers -> Server Types -> WebSphere application servers
- Select the server you created earlier (e.g. PSServer) and click the “Restart” button.
- If successful, PowerSync can be reached at:
http:
http://<serverURL>:<WC_defaulthost port>/powersync
(e.g. http://10.0.0.14:9081/powersync)
https:
https://<serverURL>:<WC_defaulthost_secure port >/powersync
(e.g. https://10.0.0.14:9444/powersync)
Using Secure GIS Services
In order to use GIS services w/ https with PowerSync hosted on WebSphere, you must access PowerSync through the https URL and port, as well as provide a certificate for the GIS server to WebSphere. To add a certificate to WebSphere:
- In the left column of the WebSphere console, select Security -> SSL certificate and key management
- Under Related Items, select Key stores and certificates
- Edit CellDefaultTrustStore by selecting the name.
- Under Additional Properties, select Signer certificates
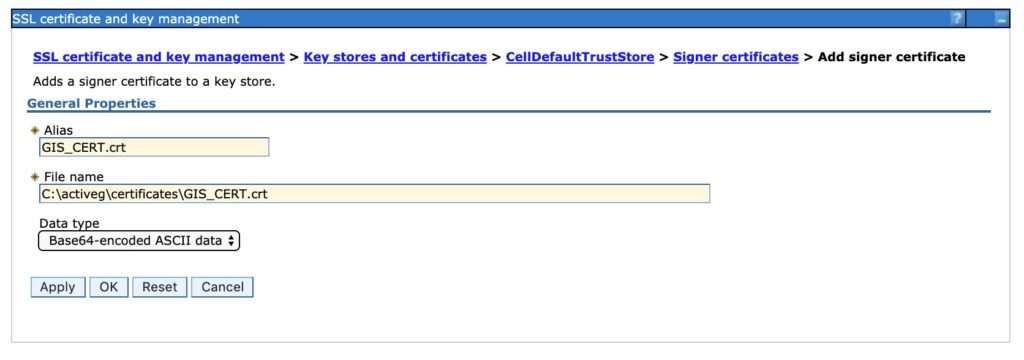
- Select the “Add” button
- Give the certificate an Alias of your choice and put the full path to the certificate on the server. Click the “OK” button.
- Click the “Save directly to the master configuration” button.
- In the left column of the WebSphere console, select Servers -> Server Types -> WebSphere application servers
- Select the server you created earlier (e.g. PSServer) and click the “Restart” button.
If successful, using the https PowerSync URL you should be able to connect to secure GIS services.