Log Node
The Log node may be your very best friend in Nash–and that’s saying something. That’s because the Log node gives you important feedback on the flow of data, giving you insights into what data is flowing, and what issues are causing your flow problems.
You can use the Log node to check the quality and characteristics of your data, before passing the information on to another dataset.
This quick overview will explain how you can use the Log node to your advantage.

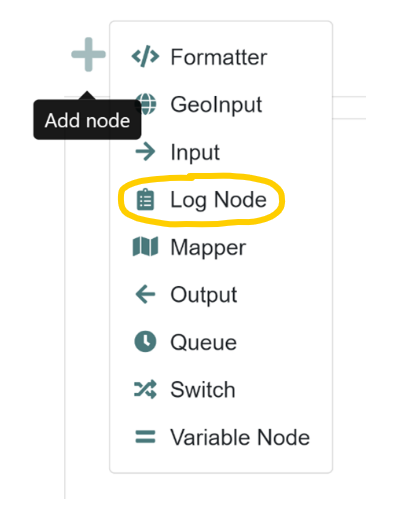
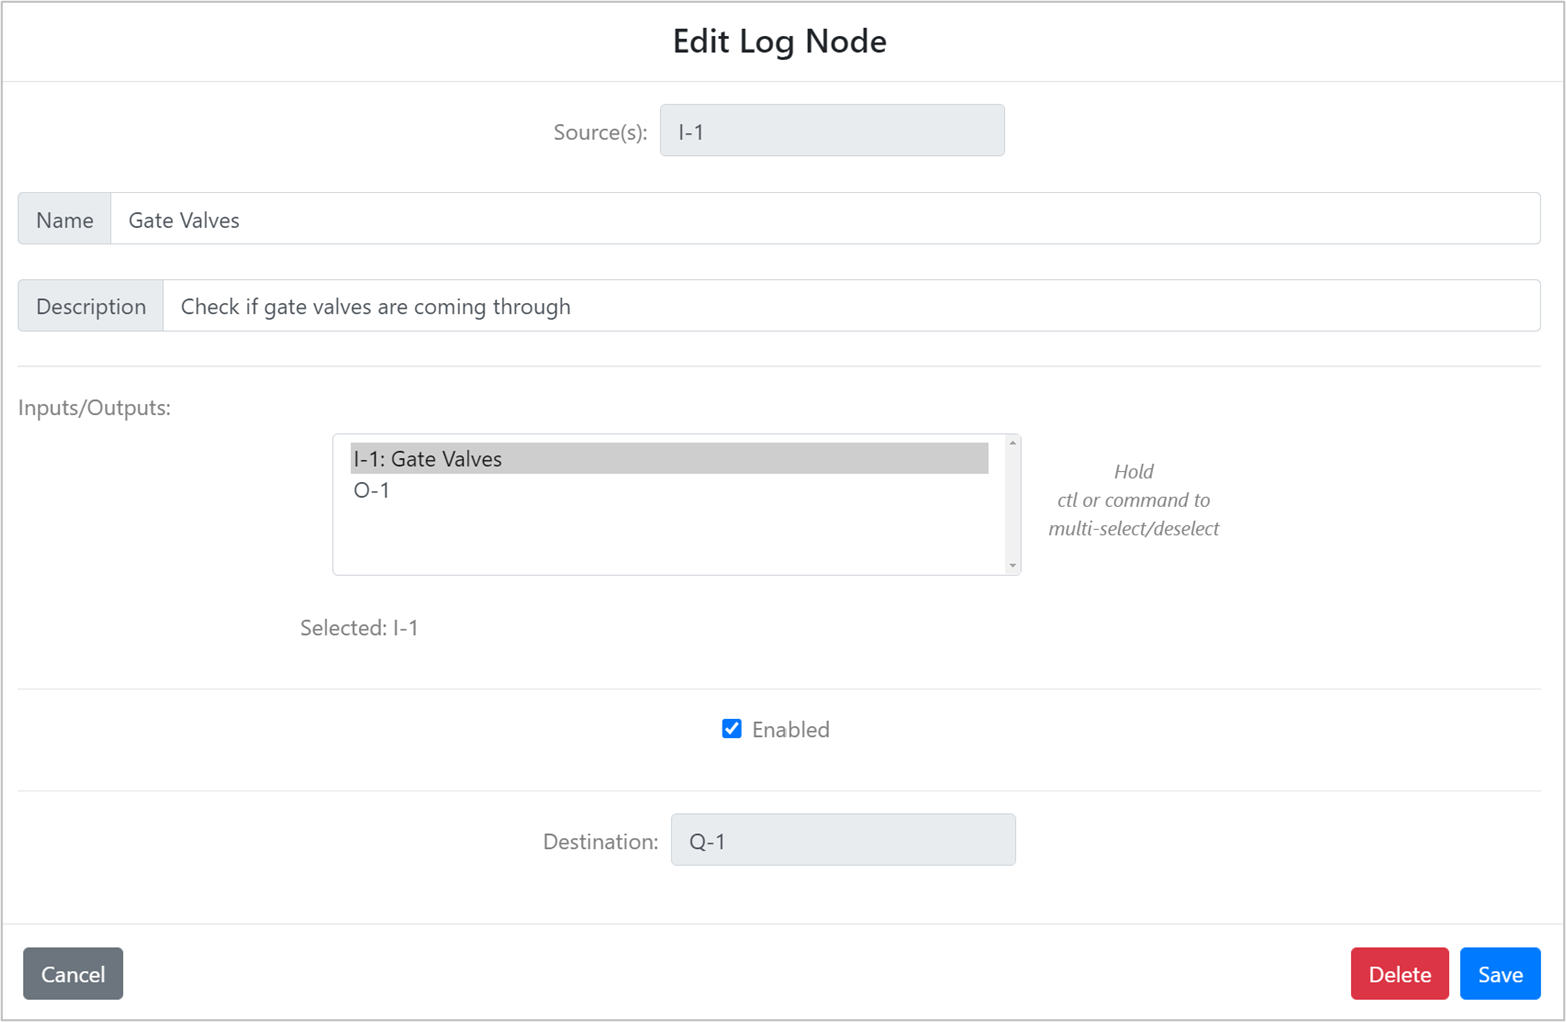
Place a Log node into your flow, connecting it downstream of any input or output node, then select which node’s data you want to view. The example below shows that I-1: Gate Valves is selected, which means that the log output will display the results coming from input 1 (I-1).
If you check the “Enabled” box, the log will be active each time the workflow is processed. If you uncheck the box, no logs will be generated.

If you want to check your data before passing it on for further processing, just disconnect the log from the downstream process and run your workflow to see the log output.
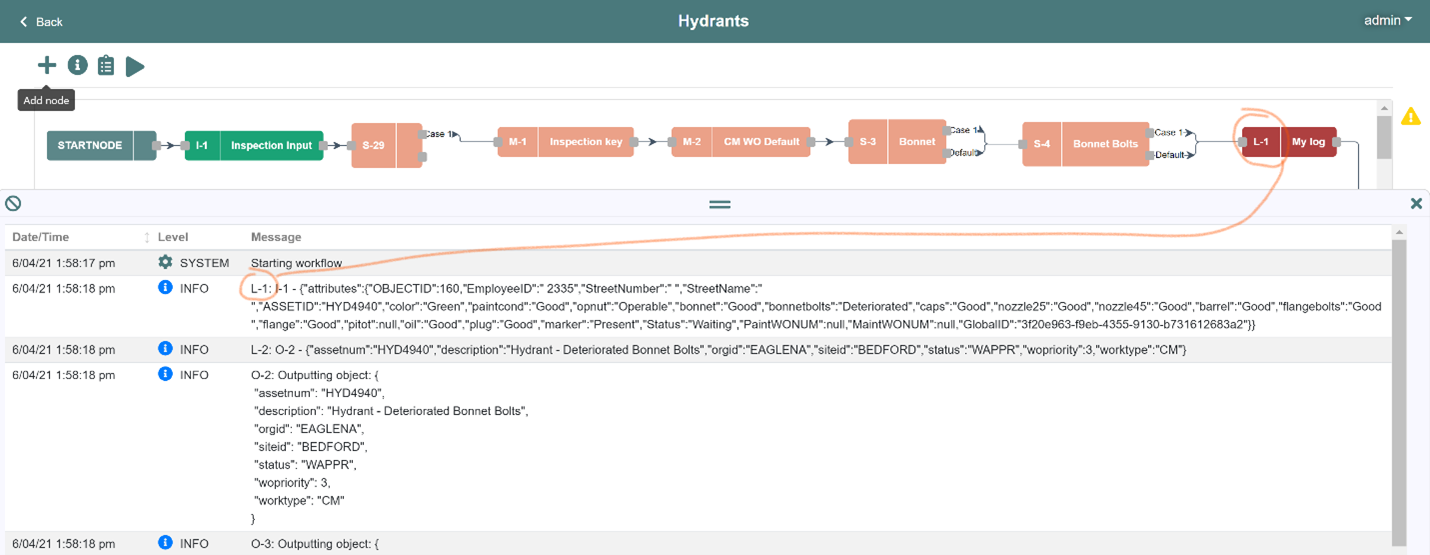
Log nodes make it easy for you to test your flow before committing the data changes. You do this by leaving the right side of the Log node disconnected from the downstream flow (as shown below). So, the upstream data will flow to the point of the Log but go no further. This allows you the option to check the detailed data ahead of time.

Run your flow manually and the logs will show you the data from the nodes you chose in the Log node settings, as shown below.
