Knowledge Base Help Center
Nash Overview

Introduction
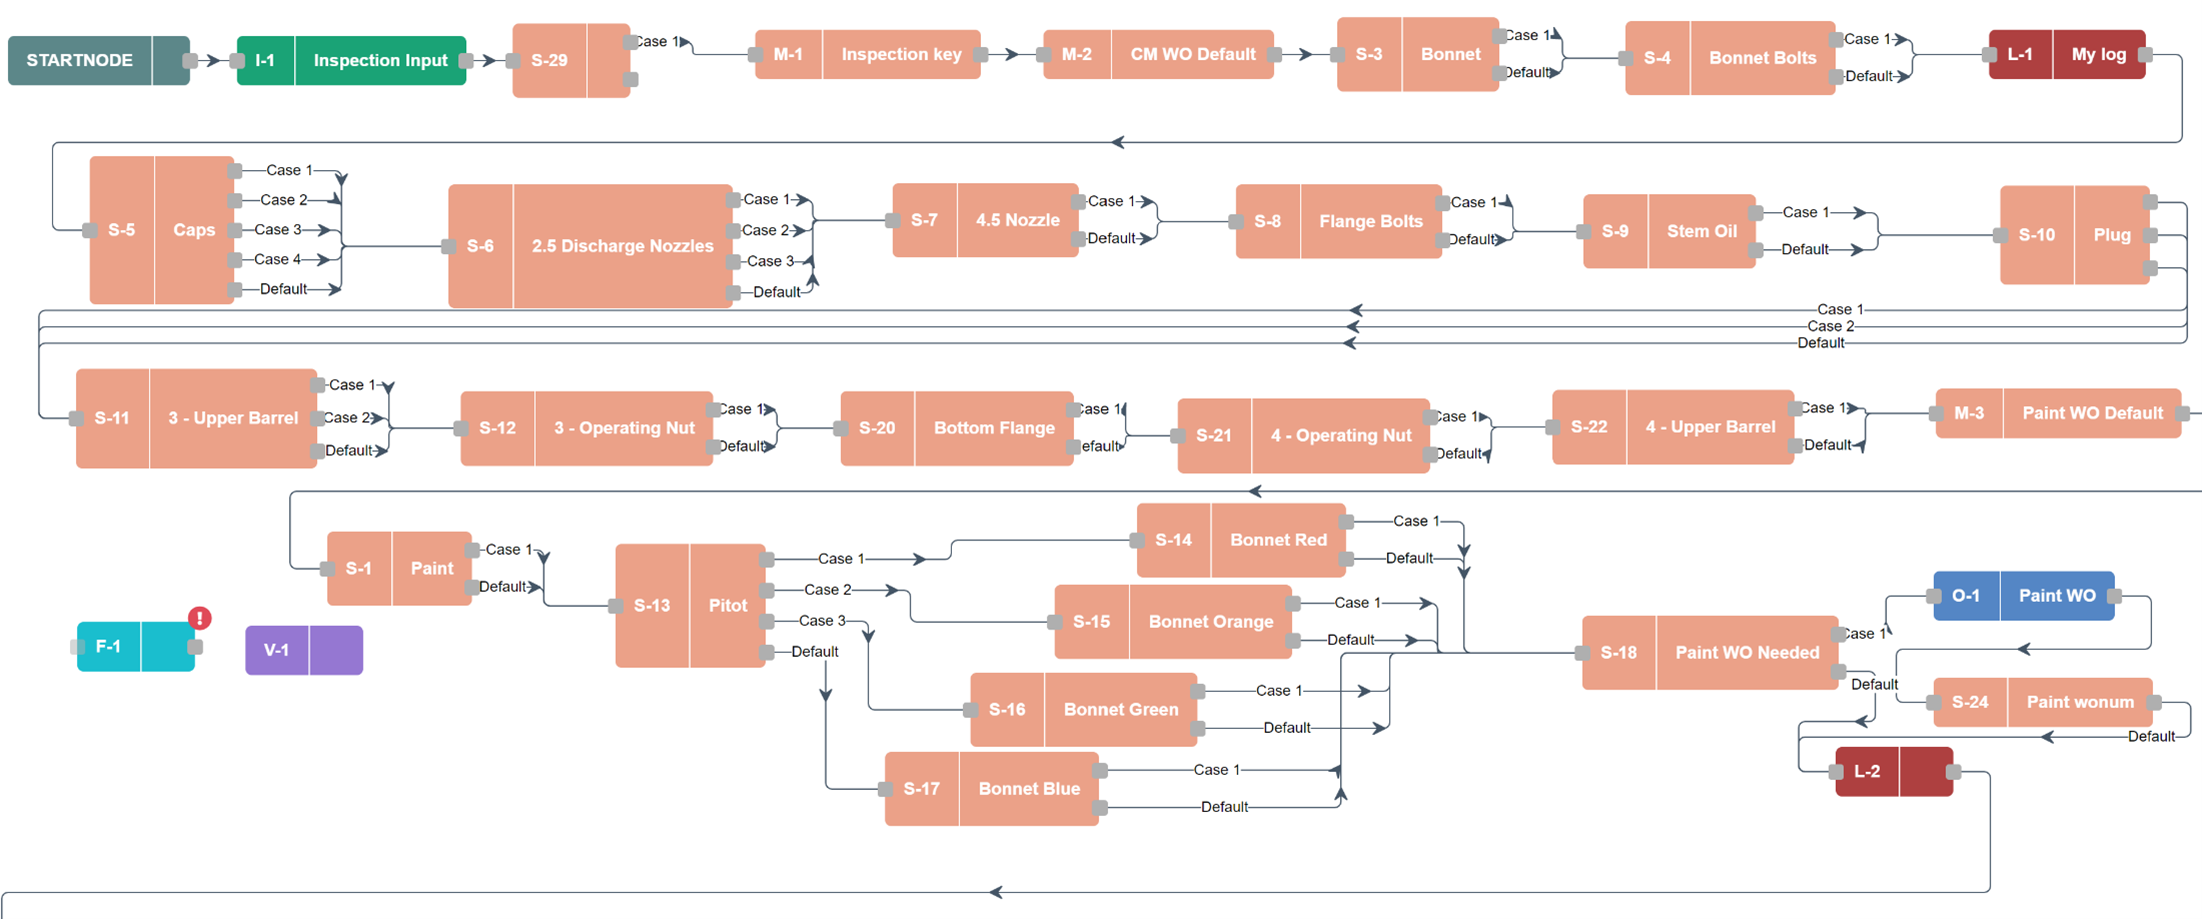
If you’re reading this, you may be about to try your hand at using ActiveG Nash Workflows to streamline a business process or automate a logical data flow between computer applications. This document will help you understand how Nash is structured and how it works, and it provides some examples of common Nash tricks and tips.
So, let’s dive in!
Application Overview
When you log into Nash Workflows, you’ll immediately see the toolbar and other controls, as shown below:
 Figure 1: Nash controls
The four main parts of Nash are: 1) Workspaces, 2) Connections, 3) Workflows, and 4) Logs. You’ll build your workflows in that order, by first creating a workspace to store your content, then subsequently creating connections, workflows, and logs.