Nash Techniques for Building Workflows
Here are a few important techniques that you can use to make creating and editing your workflows much easier.
Short Names
All nodes have an alphanumeric short name. This short name enables advanced use of data from Input nodes, Output Nodes, Variable nodes, and GeoInput nodes. Similar advanced functions are available in a similar schema.
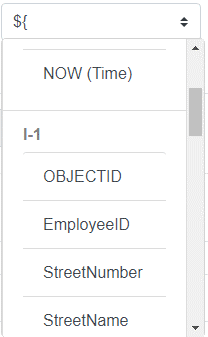
Whenever there is a text box that is dealing with data, we are able to call data from other nodes. There is a helper dialog that enables this. To get to the dialog simply type ${ and the helper dialog will give you access to all the available fields and advanced functions (see Figure 18).
Fields from each input and output are available as ${ShortName.FieldName} like this: ${I-1.objectid} (substitutions).
Substitutions
Substitutions, as referenced above, allow a static value to be replaced with a dynamic value derived from an attribute in Maximo or GIS. For example, instead of using assetnum=“32465” you could use assetnum=“${I-1.assetnum}” and each assetnum queried and returned in Input 1 would be used for that value. Substitutions are valuable when processing data that can change often, such as assets due for an inspection or work orders in a certain status.
Laying Out the Flow
As you start building your workflow, it’s a good idea to start by thinking about all the data inputs and outputs you’ll need. Think about the goal of your workflow. What is the final output? Will there be more than one output? What supporting data do I need besides the core data to make this work? Do I need to modify data along the flow? Answering these questions will help you lay out the workflow properly and completely.
Logs Before Posting
Before you start posting your data to the outputs you want, try processing them to a log first—before you connect and send them all the way to the output. This way you’ll be able to see the data being processed, and you can avoid having to clean up your output data target with a bunch of bad data.
Copy and Paste
Version 1.1.1 allows you to select one or multiple nodes for copying and pasting in the flow. So, if you have elements that are similar or repeating, you can simply left click and drag over the nodes you want to copy.


Those nodes will be highlighted and ready to copy. Just click the copy button and then the paste button to add the copies to your flow.
Exporting and Importing Workflows
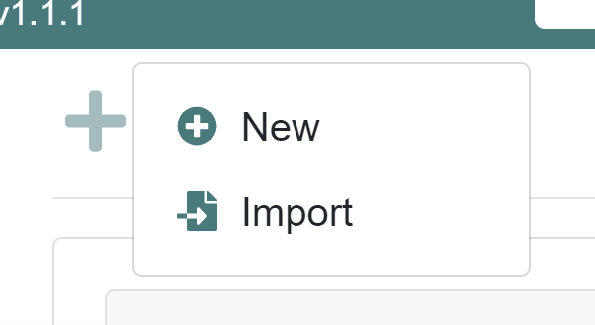
You can also export a flow as a text file or to the clipboard, and then import or paste the information into a new workflow, by clicking the plus icon and choosing Import.
1. On the Workflow list tab, click the gear icon of the flow you want to export, and choose Export

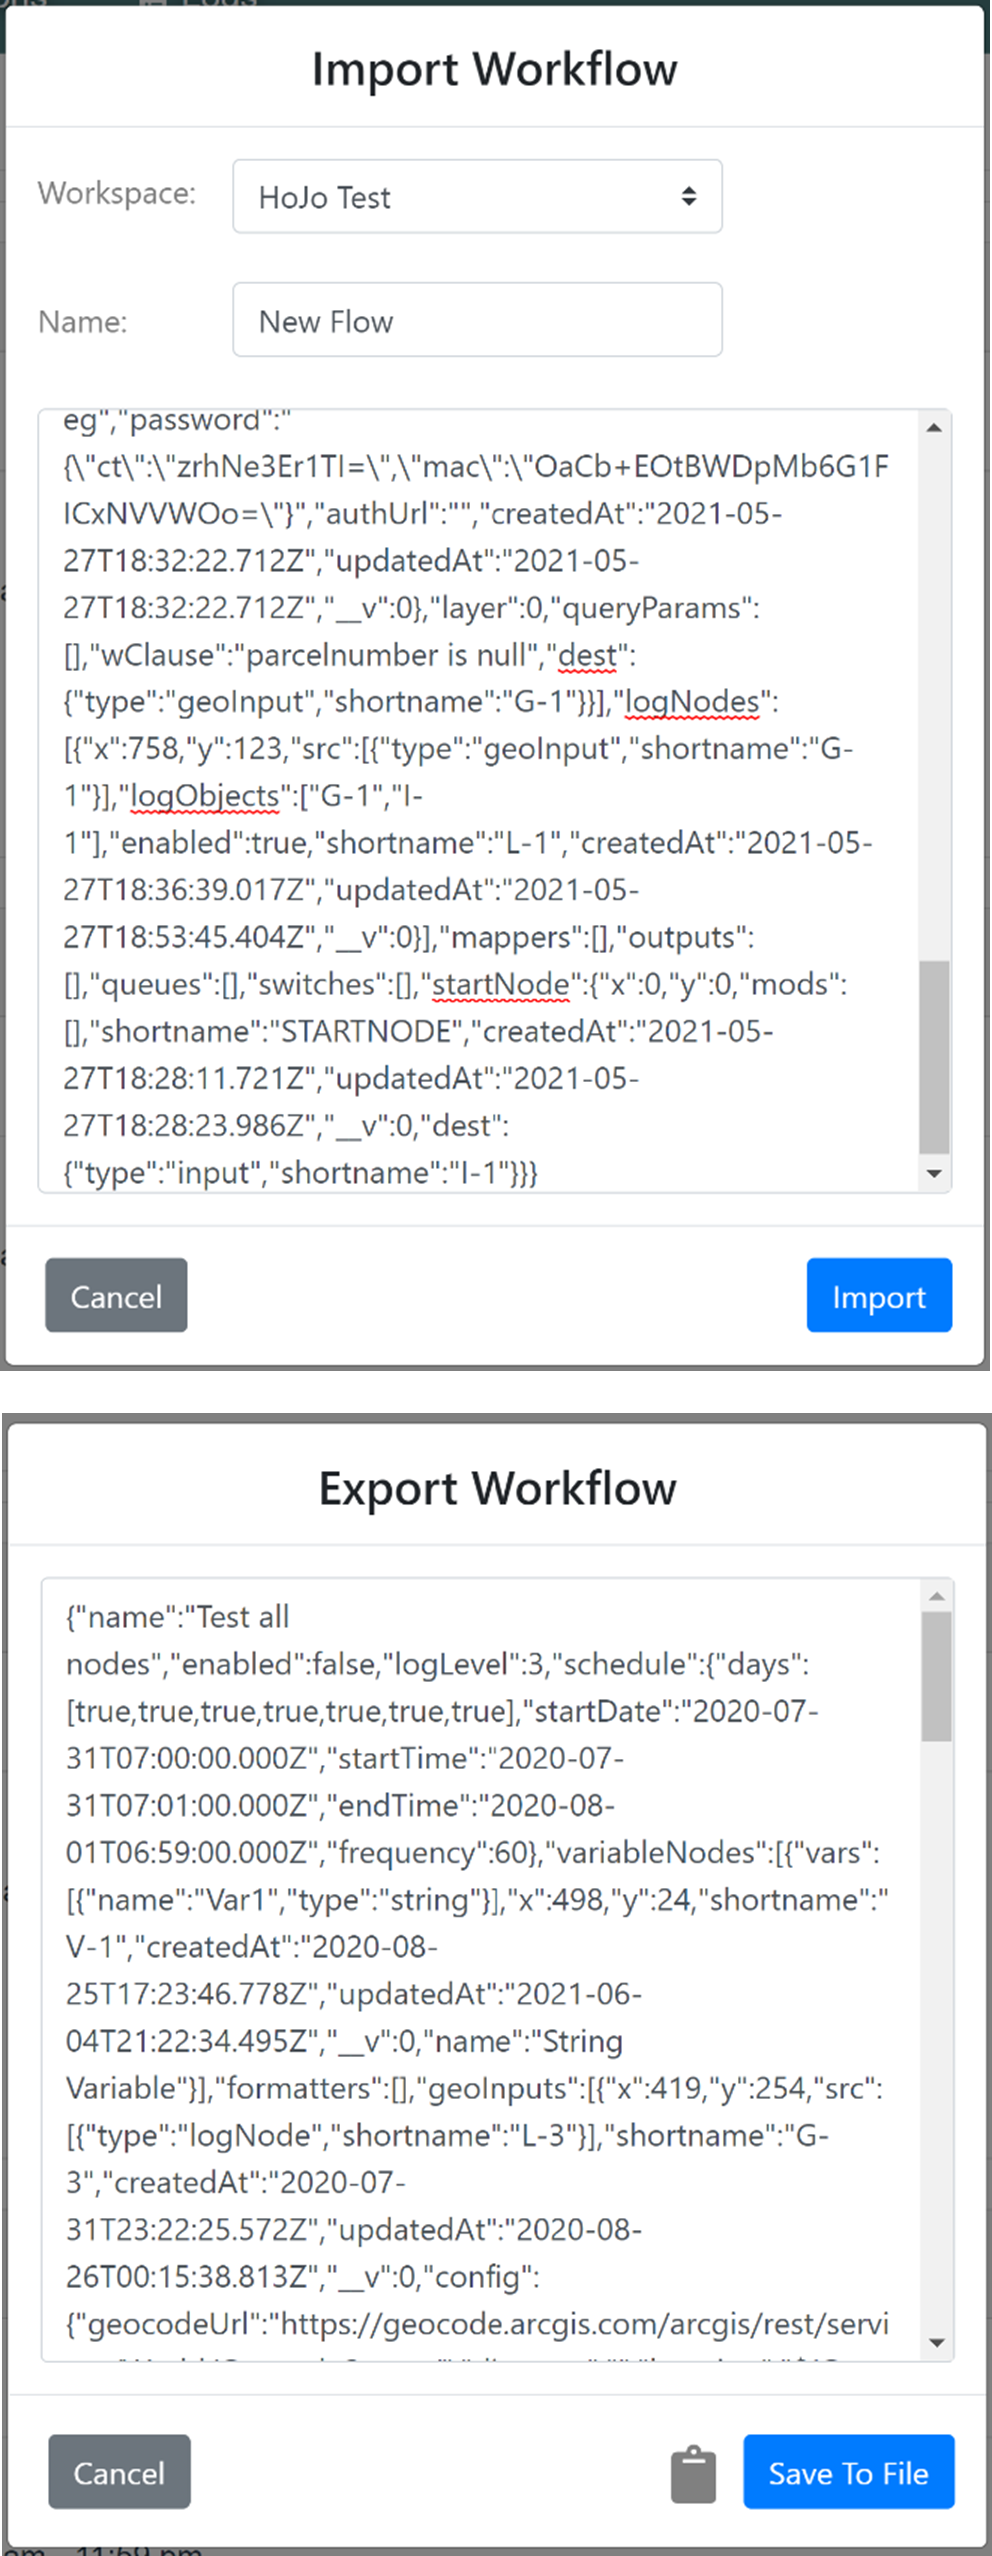
2. In the Export Workflow dialog, either click the clipboard to copy the workflow definition, or click Save to File to save the workflow as a text file.
3. Click on the plus icon and choose Import.

4. Edit the Import Workflow dialog, by either pasting the workflow definition from the clipboard, or copying from the textfile you saved.
